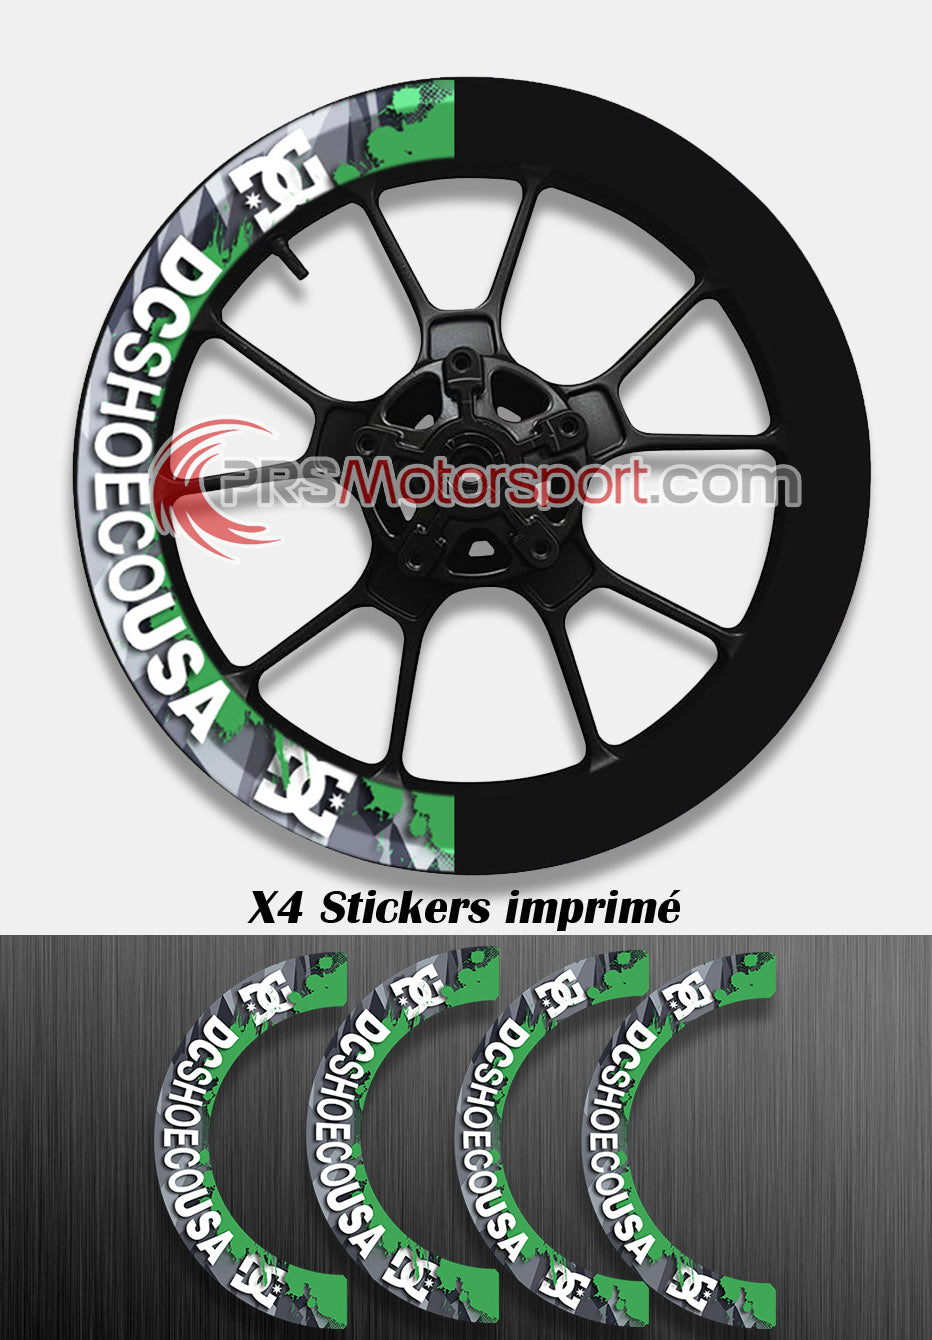
KIT déco jante DC SHOES X-WRAP
KIT déco jante DC SHOES X-WRAP
Tous nos kits déco jante moto sont vendus pour les 2 jantes !
Bandes imprimées dotées d'une colle haute performance permettant l'application même sur jantes granuleuses.
Lamination brillante, résistant aux UV, lavages etc...

Couldn't load pickup availability
Product Description
Product Description
Colors and modifications
Colors and modifications
CHANGES
For more customization, you can contact us by email before your order. Remember to be as specific as possible so that the request is processed quickly.
Preparing the rims
Preparing the rims
Before starting, make sure that the surfaces are smooth and perfectly degreased (even if the vehicle is new or recently repainted)
How to prepare your rims?
- A good cleaning with water and NON-shine shampoo is necessary.
WARNING: Do not use WD40, white spirit, polishing shampoo, Vulcanet wipes... and other products with silicone.
Read the 3 mistakes to avoid...
THE STEPS:
- Clean and scrub
- Rinse thoroughly
- Repeat the operation if necessary to remove any traces of polish, for example.
- Dry thoroughly
OUR ADVICE +
- It is important that the surface is not at too low a temperature. In winter, work indoors, preferably heated, and remember to heat the surface a little during installation using a heat gun.
- If the stickers are not applied immediately, store them in a dry place away from sunlight and heat.
- After application, avoid contact with cold and humidity for the first few days to optimize hold.
Tutorial
Tutorial
After a perfect degreasing! Take less than 30 minutes to apply your rim decoration!
Preparing the stickers
- Differentiate between the stickers that will go on the rear rim and those that will go on the front rim (the thinner ones will go on the front)
APPLICATION OF STICKERS
1. DETERMINE EACH LOCATION
Be careful to check that the printed strips do not pass over the balancing weights on both sides.
2. START PASTING
Once the location is decided, start by peeling off the backing paper in one corner.
All you should have left is the sticker in your hand.
Place it following the edge of the rim.
When the sticker is completely stuck, start heating while gradually pressing on the vinyl.
It will adapt to the shape under the action of heat. However, do not heat too much so as not to distort the pattern.
OUR ADVICE +
- It is important to keep the surface at the correct temperature. A surface that is too cold will not allow the stickers to stick properly. In winter, work indoors, preferably heated, and remember to heat the surface a little during installation using a heat gun.
- If the stickers are not applied immediately, store them in a dry place away from sunlight and heat.
- After application, avoid contact with cold and humidity for the first few days to optimize hold.
Installation guarantee
Installation guarantee
On this product PRSmotorsport guarantees you the free return of some elements if you fail to install them.
TERMS :
- Provide us with a photo of the problem encountered
- Make the request within 30 days after the delivery date
Returns and Refunds
Returns and Refunds
The rim decoration kits are products made to order.
Therefore, returns, exchanges and refunds are not possible.
It is then important to check your order carefully.
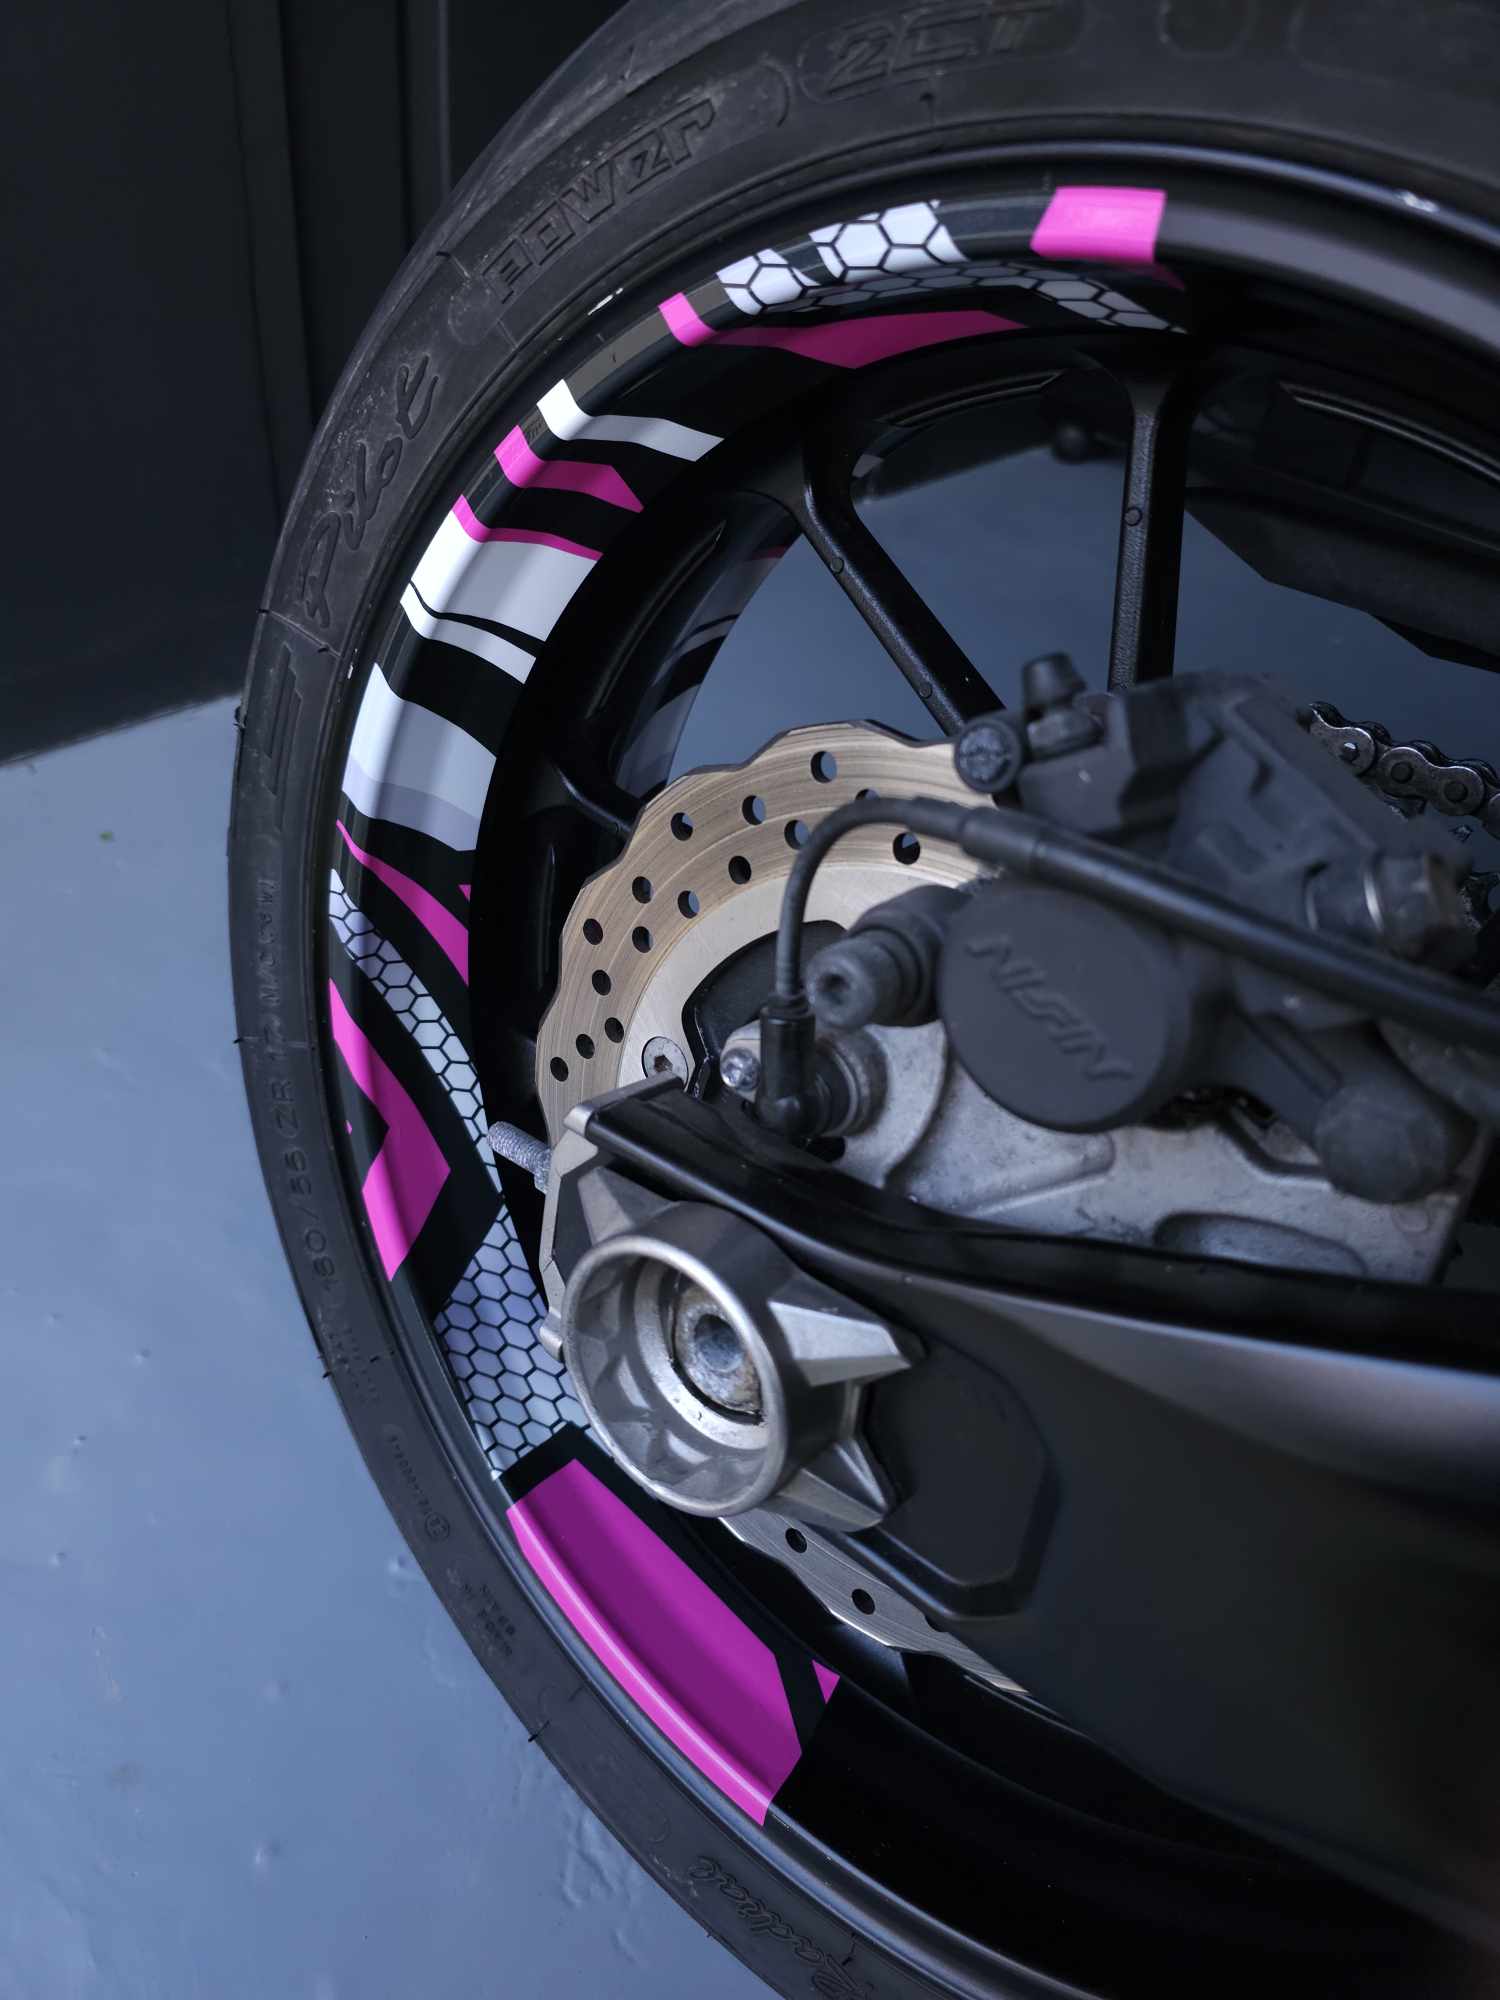
Easy application
All you need is a heat gun (or hair dryer) to apply these rim stickers!
Only 25 minutes for the half-circle decorations!
Help by watching our VIDEO TUTORIALS on tik tok!
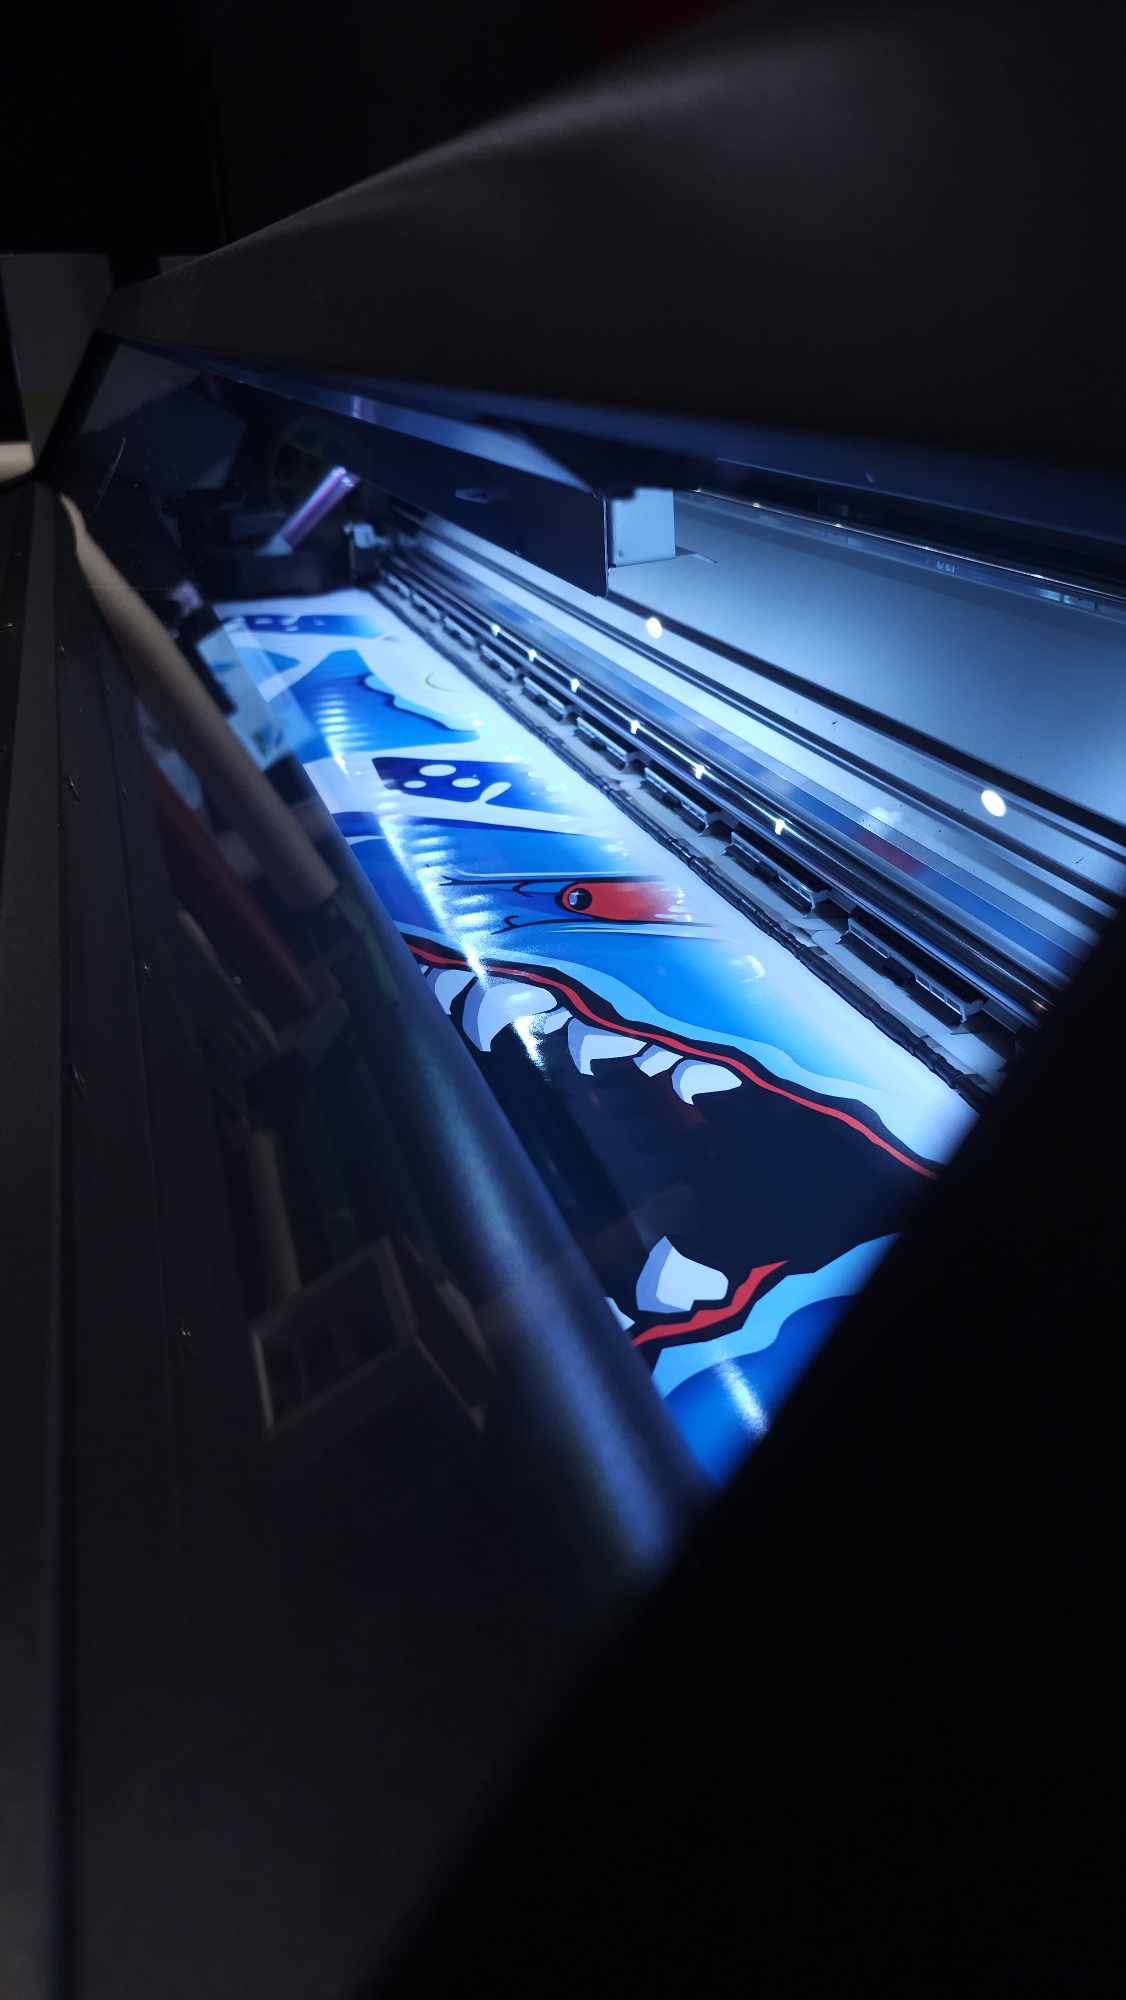
Professional quality
These stickers are printed on premium adhesive with a high strength glue, allowing application on grainy surfaces.
Glossy, anti-UV and resistant lamination for track and road use, they will accompany you for many years.


