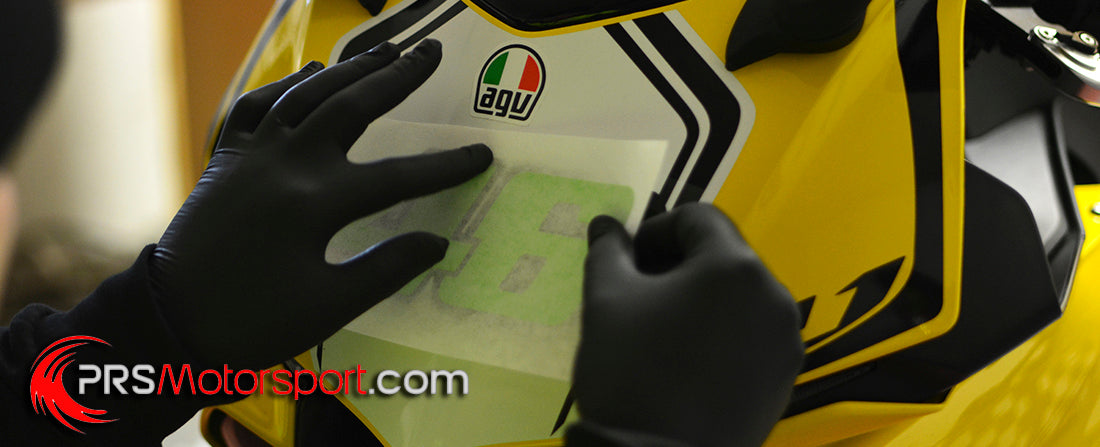
Motorcycle stickers are an economical and exciting way to personalize your two-wheeler. These adhesive stickers offer an infinite variety of designs and styles to express your personality and make your motorcycle unique.
Whether you want to add a splash of color, a distinctive logo, or a bold design, motorcycle stickers are the perfect way to transform the look of your favorite 2-wheeler cheaply, simply, and quickly. In this article, we'll walk you through through the simple steps to apply these stickers precisely and professionally!
1. PRODUCT PRESENTATION
You have ordered your stickers on prsmotorsport.com and you have received them carefully packed in their waterproof packaging. It is then time to open this plastic envelope and discover each of them.
First of all you will notice that these are composed of 3 layers:
1. The transfer ( top layer, flexible and transparent )
2. The sticker itself ( in the middle )
3. The backing paper ( the bottom layer, thicker and more opaque )

Take the time to carefully separate each sticker with scissors, if they are grouped on the same sheet. You are ready to put them up.
2. PREPARATION OF THE SUPPORT
The motorcycle stickers sold in our shop are made with high-performance adhesives designed for road and sports use. They are durable and resistant to friction, grease and gasoline, weather conditions... but applied in poor conditions, you might not benefit from these qualities.
Before applying the stickers, it is important to carefully prepare your surface to ensure optimal adhesion and extend its durability over time.
Here is our foolproof method!
1. CLEAN using a mild, non-abrasive detergent to remove dirt, grease and wax residue. Scrub, scrub, scrub...

2. RINSE with plenty of water.
3. DEGREASE and scrub, scrub... (recommended step for rims and other greasier parts)
You can use F essence or a simple household cleaner like Marseille soap...
4. RINSE while rubbing to remove any traces of product which could also alter the glue of the adhesive.
5. DRY THOROUGHLY
The surface is ready!
3. POSITIONING AND APPLICATION OF STICKERS
Our stickers are provided with a semi-transparent transfer film which makes positioning easier but it is important to choose the locations of each sticker precisely.
To do this, nothing could be simpler, present your stickers in the final locations by sticking them temporarily using painter's tape. Once satisfied, proceed as follows:
- Start by removing the backing paper (the one underneath) starting from one corner, while making sure that the sticker remains with the transfer. Only the transfer should remain adhering to the sticker.

- Using the squeegee provided or a plastic card, press firmly on the "transfer + stickers" assembly. Remove air bubbles, working from the center to the edges.

- Carefully remove the transfer, starting from a corner and pulling flat on the support. If in one place, the sticker comes with it, don't panic, put it back in this place, and iron the squeegee strongly.

4. OPTIMIZE THE OUTFIT (optional but recommended step)
Our final step is to finalize the application of all your motorcycle stickers to guarantee a perfect and long-lasting hold.
This step is particularly recommended in winter.
Get a heat gun or your trusty hair dryer. Heat moderately for a few seconds about 25/30cm from the support.
This action under heat has the effect of standardizing the glue of your motorcycle stickers and keeping them in place quickly.

There you have it, you now have all the keys in hand to successfully apply your motorcycle stickers. Let your creativity run wild and transform your two-wheeler into a rolling work of art.
Feel free to explore our selection of motorcycle stickers at prsmotorsport.com to find inspiration and bring your imagination to life. Enjoy customizing your motorcycle with these high-quality stickers, designed to last while being weather and UV resistant. Make your motorcycle a true extension of your personality and ride with style and originality!
If you liked this article or would like to provide further details or ask questions, please fill out the form below.

