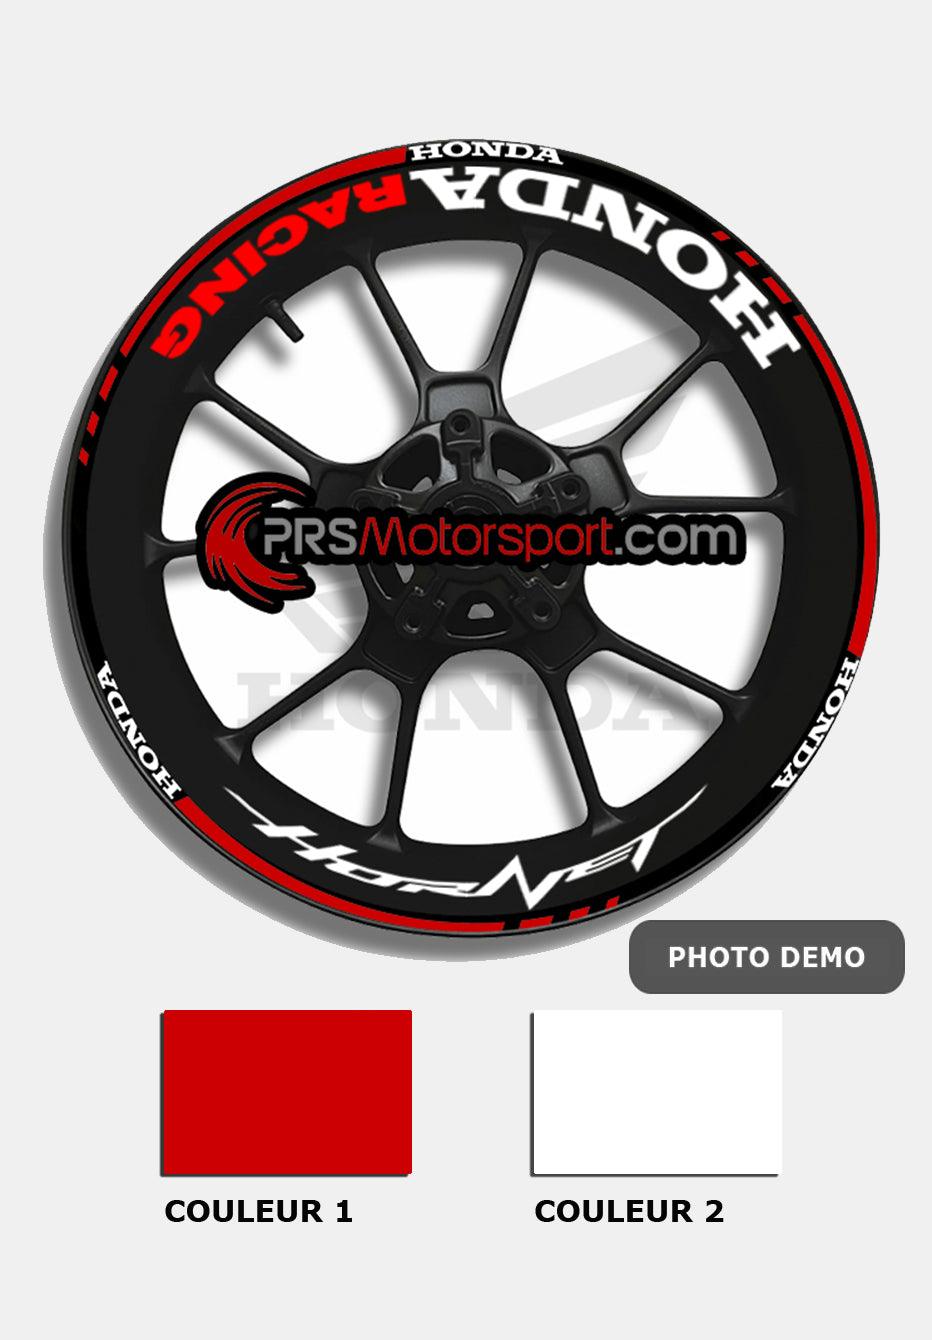
KIT déco jante HONDA HORNET 2
KIT déco jante HONDA HORNET 2
Tous nos kits déco jante moto sont vendus pour les 2 jantes !
Taille 17 pouces par défaut, mais d'autres tailles sur simple demande.

Couldn't load pickup availability
Product Description
Product Description
Colors and modifications
Colors and modifications
CHANGES
For more customization, you can contact us by email before your order. Remember to be as specific as possible so that the request is processed quickly.
Preparing the rims
Preparing the rims
Before starting, make sure that the surfaces are smooth and perfectly degreased (even if the vehicle is new or recently repainted)
How to prepare your rims?
- A good cleaning with water and NON-shine shampoo is necessary.
WARNING: Do not use WD40, white spirit, polishing shampoo, Vulcanet wipes... and other products with silicone.
Read the 3 mistakes to avoid...
THE STEPS:
- Clean and scrub
- Rinse thoroughly
- Repeat the operation if necessary to remove any traces of polish, for example.
- Dry thoroughly
OUR ADVICE +
- It is important that the surface is not at too low a temperature. In winter, work indoors, preferably heated, and remember to heat the surface a little during installation using a heat gun.
- If the stickers are not applied immediately, store them in a dry place away from sunlight and heat.
- After application, avoid contact with cold and humidity for the first few days to optimize hold.
Tutorial
Tutorial
You will receive the rim stickers in a waterproof envelope.
Preparing the stickers
- First of all, you will need to separate each element of the decoration kit with scissors.
- Differentiate between the stickers that will go on the rear rim and those that will go on the front rim (the dimensions of the rim interior elements may change)
- On a table, pass the squeegee vigorously over each of the stickers, in order to re-grasp a little of the transfer adhesion which could have moved during transport.
APPLICATION OF STICKERS
1. DETERMINE EACH LOCATION
Without gluing them, place them on the rim to check that the spaces between each one are correct. You can also decide to place them differently if you like.
2. START PASTING
Once the location is decided, start by peeling off the backing paper in one corner.
All you should have left is the sticker and its semi-transparent transfer.
Press this assembly with your fingers following the edge of the rim, to use it as a guide.
When the sticker is completely stuck, pass the squeegee (or a plastic card) over it firmly.
Then remove the transfer, carefully, by pulling from one corner and back, flat on the rim. If in some places, the sticker comes with it, then stick it back on and press firmly again, this will separate them.
OUR ADVICE +
- It is important to keep the surface at the correct temperature. A surface that is too cold will not allow the stickers to stick. In winter, work preferably indoors, and remember to heat the surface a little during installation using a heat gun.
- If the stickers are not applied immediately, store them in a dry place away from sunlight and heat.
- After application, avoid contact with cold and humidity for the first few days to optimize hold.
Installation guarantee
Installation guarantee
On this product PRSmotorsport guarantees you the free return of some elements if you fail to install them.
TERMS :
- Provide us with a photo of the problem encountered
- Make the request within 30 days after the delivery date
Returns and Refunds
Returns and Refunds
The rim decoration kits are products made to order.
Therefore, returns, exchanges and refunds are not possible.
It is then important to check your order carefully.


Professional quality
All our stickers can be re-varnished
No outlines, the background color will be your support
Application made easy by a flexible and semi-transparent transfer coating.


